
Crate, Plate, Pixel
“If more of us valued food and cheer and song above hoarded gold, it would be a merrier world.”
This weekend I embarked on a DIY project – a behind-the-scenes food photo shoot, from props, food preparation to the final product. I am always on the lookout for props that could be used in food photography – old pots and pans, bowls, bottles, boards, ladles, wicker baskets, mats, trays, fabric, just about anything that could enhance and complement the food I’m photographing.
A few days ago, I appropriated the remains of a discarded wooden crate, and the idea struck me right away that I could use the battered, weathered wood to good effect as a portable tabletop. It would, however, need a bit of work. First of all, the slats were spaced too wide apart for a table and would need to be removed individually, and either moved closer together and nailed back in place or used as individual planks placed side by side. The latter option I thought would be better because a) they could be placed in any order or direction I wanted, b) it gave me the choice of painting the other side of the planks a different colour for a future shoot, and c) it made the whole setup more portable. Prying the slats apart with the claw of a hammer was not such a good idea (I tried; the wood started to split around the nails), so I decided to get a bit of professional help. I took the crate to a carpenter’s workshop, had him saw the individual slats off and cut them all to the same size, and Voila! I had the beginnings of a good tabletop!

What I started with
Next, the paint. I already had tabletops in white, maple, sheesham (darker, like walnut), and light blue (yeah, yeah, I know they say one mustn’t use blue in food photography, but one doesn’t always play by the rules), so I thought I should get something different. I wanted a slate grey or dark blue table to lend a bit of contrast to the food I was thinking of making. So, off then to the Asian Paints hardware store for some primer, a brush, some sandpaper and the right shade of paint. I decided to go with slate grey, and the guy at the store helped me mix the stuff to the desired shade.
Back home, I wasted no time in getting a coat of primer on the wood as quickly as possible to give it time to dry so I could paint it the next morning. The monsoons have set in in right earnest in western India, and drying anything takes a lot longer now than it did just a month ago when we were roasting in the summer heat. After leaving the primer to dry and set overnight, I sanded off the excess and a few rough edges as well. I then set to work with the paint, praying it would look like I imagined it once it was finished. I set the finished slats up side by side against the wall to dry, and I have to say I wasn’t altogether unhappy with the result!

Primed, sanded and ready for a coat of paint

The finished product
The slats would take several hours to dry, which gave me some time to run a few errands and think about the menu to plate up. I wanted something brightly coloured to complement the dark grey of the table. Khaman! For the uninitiated, khaman – and I quote Wikipedia – is a food common in the state of Gujarat in India, and is made from ground chickpea flour (gram flour). Generally eaten as a snack, it is garnished with mustard seeds and coriander and mostly served with roughly chopped onions, fried chillies and chutney. Although a Gujarati snack, it has become increasingly popular all across India. Most importantly, it is bright yellow, and, along with the green chillies and chutney, would contrast well against the table and other props I was planning to use. I won’t go into the details of how to make it, but suffice it to say it’s easy to prepare, you can buy a mix in any store and just follow the instructions on the back. It can be cut to size (cubes this time to show the texture and make it easier to photograph), doesn’t wilt or settle on standing (very important too), and can be polished off afterwards! It goes well with chutneys – tamarind is usually the chutney of choice – but I also decided to make a coriander-mint chutney and a tomato-chilli chutney, more to enhance the colour than the flavour!
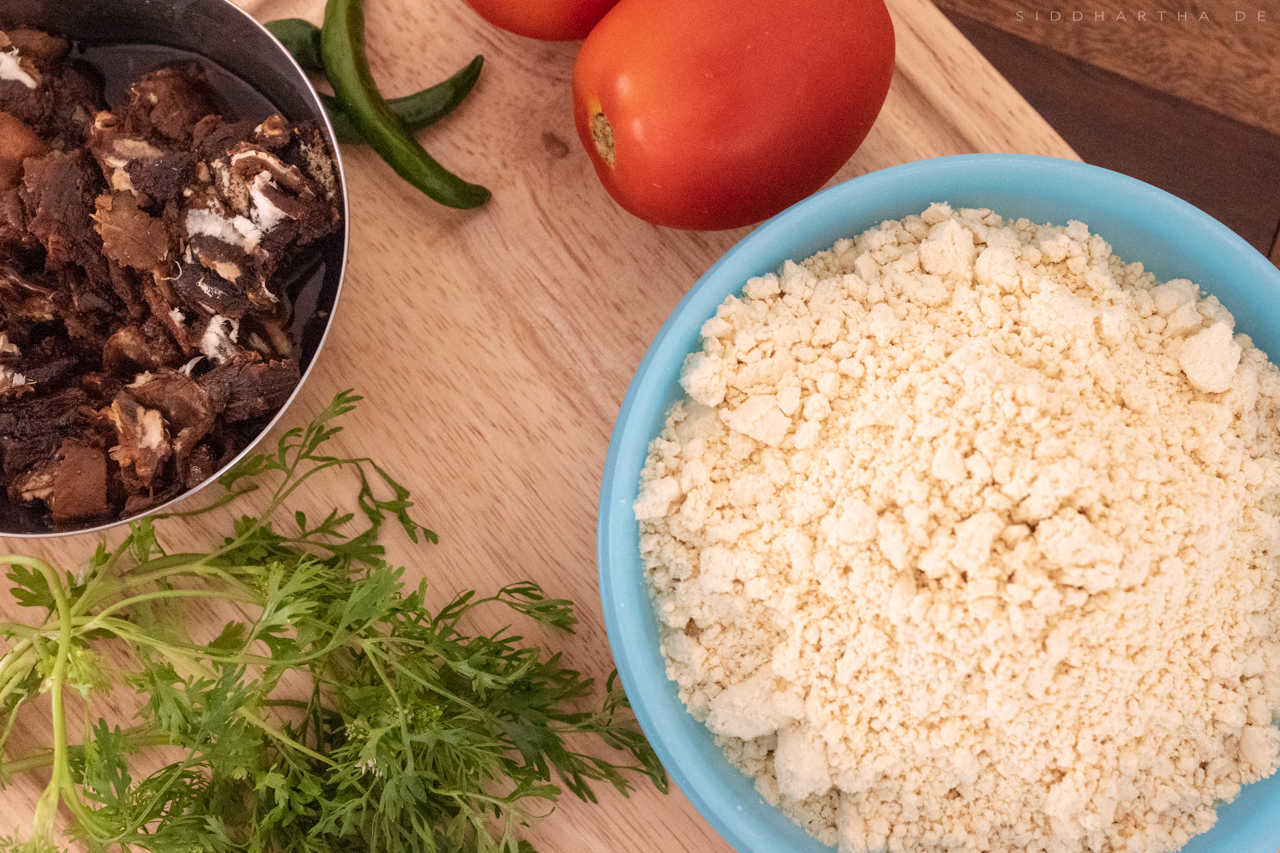
The ingredients
For the plating and presentation I used a green ceramic serving dish for the khaman and white bowls for the chutneys. The oil and mustard garnish was applied carefully with a brush, and the coriander leaves were sprinkled on top afterwards. I tried a few different mats and finally settled on the reed mat in the picture below. I decided to do the shoot in my living room facing the balcony, which affords generous amounts of good, natural light. The painted slats were aligned with the grain in the direction of the light. I used my Nikon D810 and two lenses, the Nikkor 105mm f/2.8 macro to capture the finer details of texture and garnish, and the Sigma 35mm f/1.4 to allow a wider perspective to accommodate the entire setup. A reflector to kill shadows, a few minor adjustments for the best angle, light and composition, and I got the shots you see below.


So there you have it. My weekend DIY project from start to finish. Until next time, here’s wishing you good food, good friends to share it with, and beautiful light. Don’t forget to take your camera with you.


